最后更新时间: 2024年2月29日
上一节我们完善了 wordpess 聚合页(archive)的相关功能,这一节我们来完成内页(single),即后台发的文章详情页的相关开发。
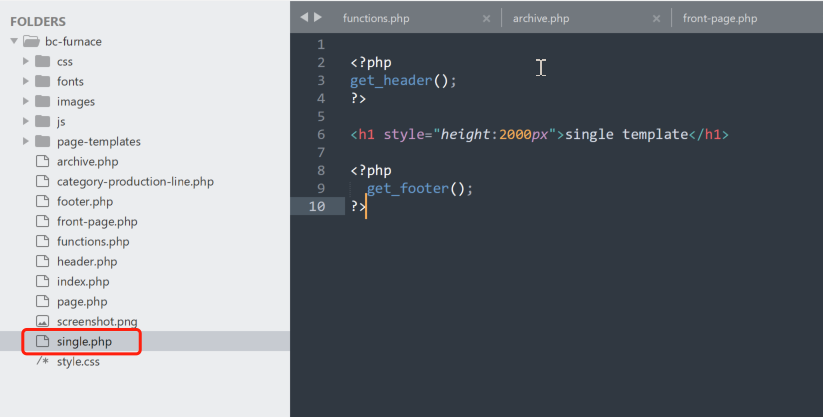
wordpress 控制详情页是通过 single.php 这个页面来控制的,首先我们新建single.php 并引入 header 和 footer 部分,如下图
我们分析一下静态网站的内页布局 链接
可以看到布局,上边是标题和描述简介,然后下边左侧是发布的文章内容,包括一张头图和一些标题和内容,下边右侧有一个搜索栏(搜索栏的实现见下一节),有一个相关文章的展示(这里可以放随机文章,最新文章或者取某个分类的文章等),再下边是固定的文字展示直接渲染出来即可。
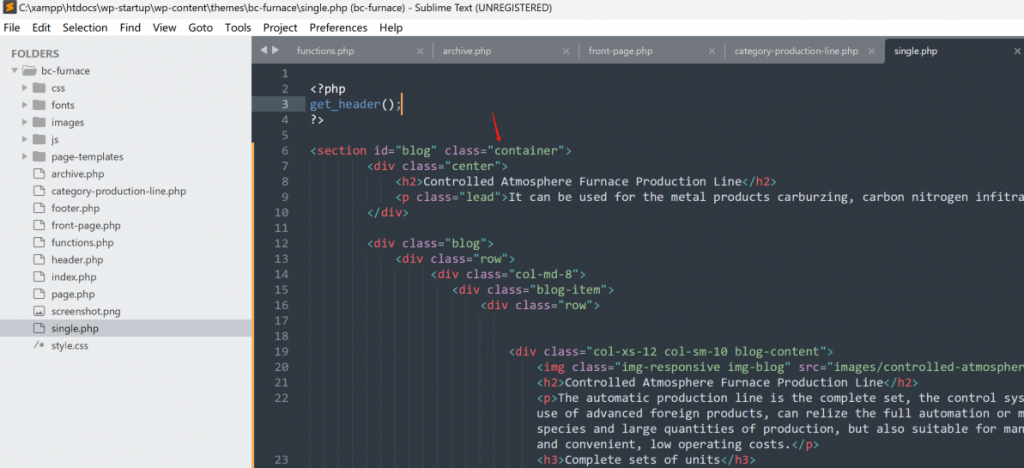
首先我们把静态页面中除了头和尾部分的代码直接拷贝到 single.php,如下所示
首先我们来实现最上边的标题和描述简介,在 single.php 中显示发布的文章也是使用 WordPress 循环(The Loop),核心代码如下:
<?php
if ( have_posts() ) :
    while ( have_posts() ) : the_post();
        the_title('<h1>', '</h1>'); // 显示文章标题
        the_content(); // 显示文章内容
    endwhile;
endif;
?>
修改如下:
<div class="center">
   <?php if ( have_posts() ) :
      while ( have_posts() ) : the_post(); ?>
       <h2><?php the_title(); ?></h2>
        <p class="lead">
          <?php
             echo get_the_excerpt();
          ?>
         </p>
      <?php endwhile; ?>
   <?php endif; ?>
</div>
注意: get_the_excerpt() 这个函数默认输出55个字符,并且样式类似 […],如果想修改长度和样式,需要在 function.php中进行类似
以下定义
//修改excerpt截取字符展示样式
function waimaoxpt_excerpt_more() {
return '...';
}
add_filter('excerpt_more', 'waimaoxpt_excerpt_more');

//修改excerpt截取字符长度
function waimaoxpt_excerpt_len() {
return 100;
}
add_filter('excerpt_length', 'waimaoxpt_excerpt_len');
这时打开一个内页,如下图

可以看到样式是…,并且返回100个字符格式了。接着我们来输出我们在后台发布的所有内容,后台发布的文章如下:
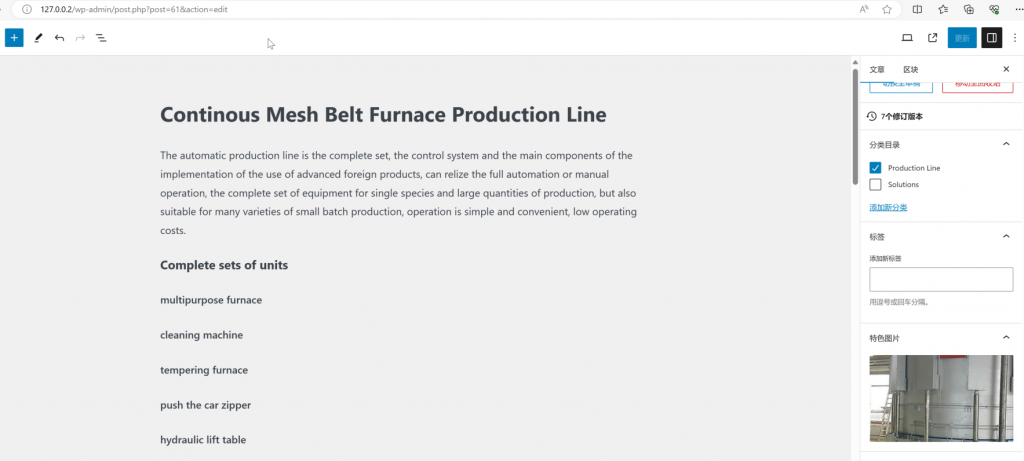
这时我们再完善 single.php 引入the_content() 这个标签如下
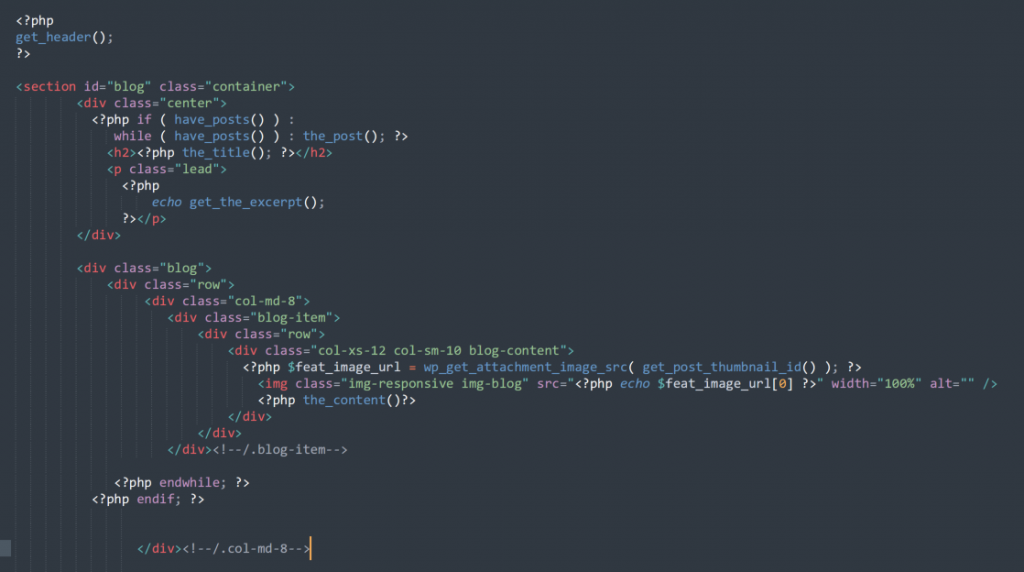
上边主要是引入了头图的链接,并渲染到对应位置,并且引入 the_content() 即把后台发布的所有内容全部从数据库中取出来
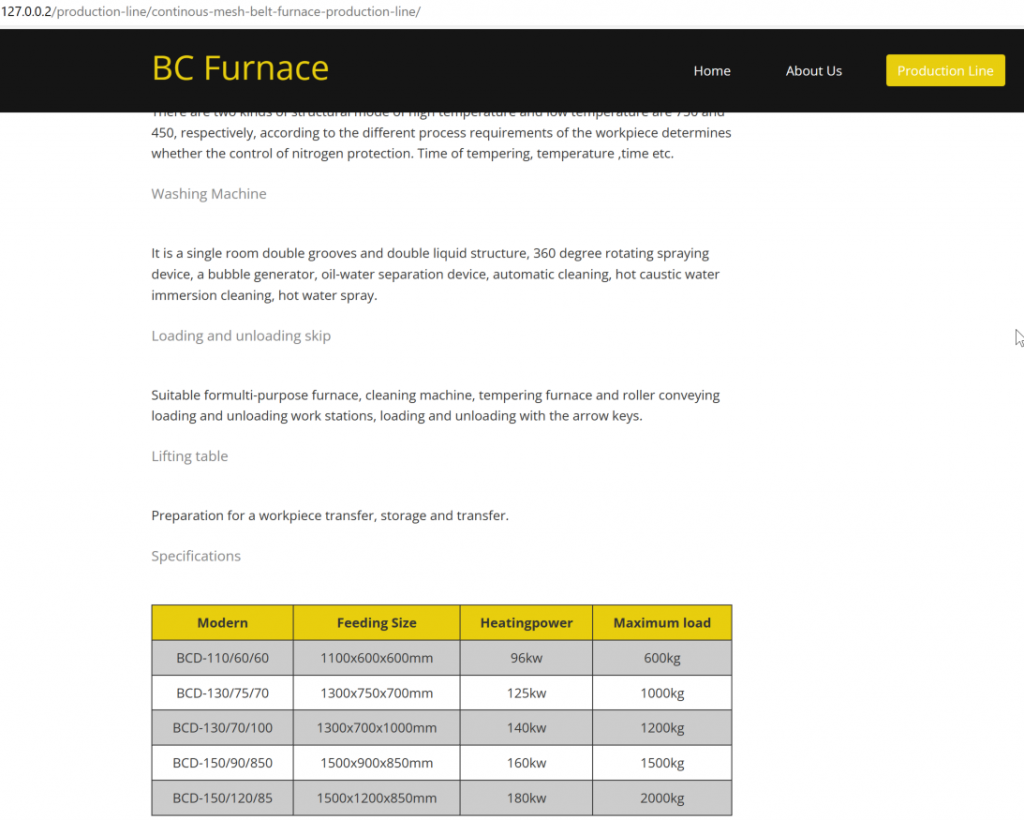
可以看到我们在后台发布的内容全部都取出来了,到此UI左侧部分都已经解决了,下边我们来完善右侧。
右侧包括一个 search 栏,还有一个文章列表,search 页面放到下一节介绍,主要来完善这个文章列表。
这里的文章列表一般有以下几种调用方式:
1. 调用某个分类下的几篇文章
2. 随机几篇文章,比如随机调用4篇后台发布的文章
3. 调用最新发布的几篇文章
现在我们都来实现一下,我们后台还有一个 Solutions 分类,现在我们在 Solutions 这个分类下发布4篇文章,内容随便写一下如下
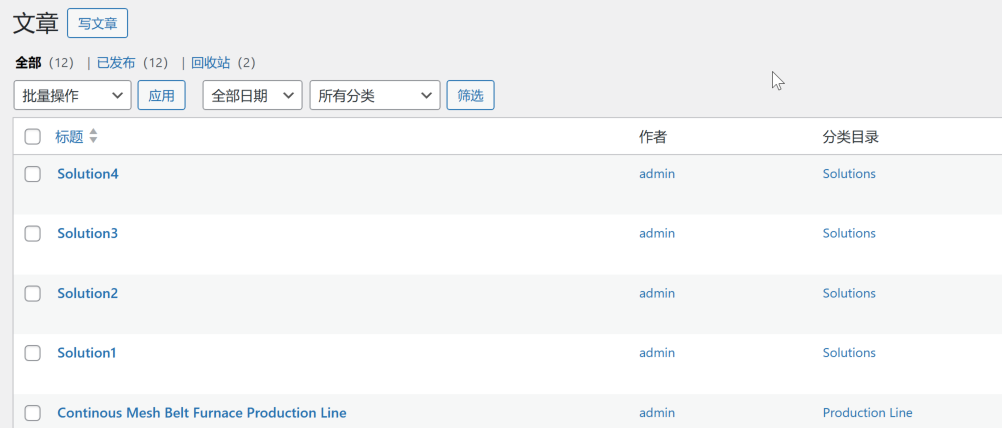
1. 实现调用 Solutions 下的4篇文章, 核心代码如下,使用了 query_posts()函数,其中的 cat 表示对应分类的 tag_ID,上一节我们说过如何获取这个ID,也可以使用 wordpress 万能查询函数 WP_Query()来实现
<div class="widget categories">
                        <h3>Related Solutions</h3>
                        <div class="row">
                            <div class="col-sm-12">
                              <?php
                                $cats = get_the_category();
                                 query_posts( 'showposts=4&cat=1');?>
                              <?php while(have_posts()){
                                  the_post();
                               ?>
                                <div class="single_comments">
                                    <p><a href="<?php the_permalink();?>"><?php the_title(); ?></a></p>
                                </div>
                                <?php } wp_reset_query();?>
                            </div>
                        </div>
                    </div><!--/.recent comments-->
打开页面如图

2. 随机调用4篇文章,核心代码如下:
<div class="widget categories">
                        <h3>Related Solutions</h3>
                        <div class="row">
                            <div class="col-sm-12">
                              <?php
                                $args = array(
                                    'post_type' => 'post', // 或者任何你需要的自定义文章类型
                                    'posts_per_page' => 4, // 显示文章数量
                                    'orderby' => 'rand', // 随机排序
                                    'post_status' => 'publish', // 已经发布的
                                    //'category_name' => '' //指定分类
                                );

                                // 自定义查询
                                $the_query = new WP_Query($args);

                                // 循环开始
                                if ($the_query->have_posts()) {

                                    while ($the_query->have_posts()) {
                                        $the_query->the_post();
                                        echo '<div class="single_comments">';
                                        echo '<p><a href="' . get_permalink() . '">' . get_the_title() . '</a></p>';
                                        echo '</div>';
                                    }

                                } else {
                                    // 如果没有找到文章
                                    echo 'No posts found.';
                                }
                                // 重置文章数据
                                wp_reset_postdata();
                                ?>

                            </div>
                        </div>
                    </div><!--/.recent comments-->
3. 调用最新发布的4篇文章,只需要添加一个 order 按 date 的查询条件即可
$args = array(
      'post_type' => 'post', // 或者任何你需要的自定义文章类型
      'posts_per_page' => 4, // 显示文章数量
      'order' => 'date', // 随机排序
      'post_status' => 'publish', // 已经发布的
      //'category_name' => '' //指定分类
   );
其实 WP_Query() 这个函数是万能函数,可以以任意方式进行查询,比如第1点我们还可以直接用它传入 category_name 来指定某个分类下的文章,并且更推荐使用 WP_Query()
至此,我们通过完善 single.php 这个文件,完整实现了我们期望的 post 内页展示。下一节我们介绍如何实现 search 页面和404页面。

